بالنسبة للمطلوب لعمل هذه المطوية
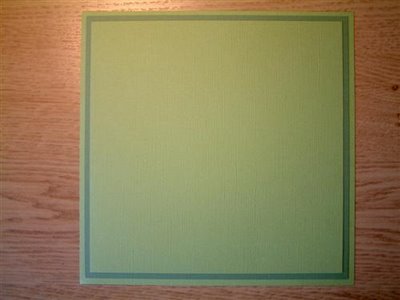
3 ورقات مربعة الشكل
الفرق بينهما تقريبا من 0,5 إلى 0,25 إنش
الأولى 9 إنش في 9 إنش
الثانية 8,5 إنش في 8,5 إنش
الثالثة 8 إنش في 8 إنش
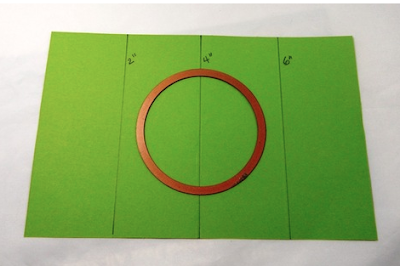
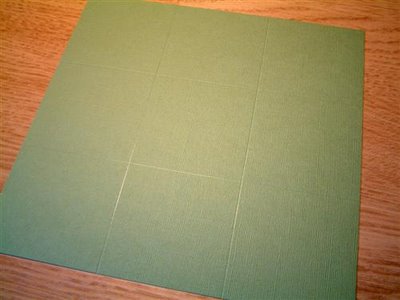
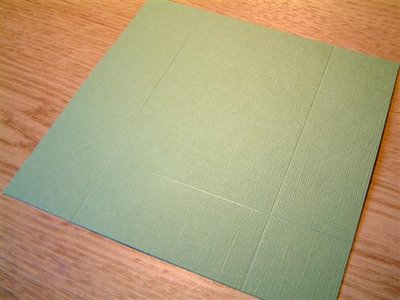
تقسم كل ورقة من الورقات الثلاث إلى 9 مربعات صغيرة بالمسطرة وقلم الرصاص
ننتبه مربعات متساوية في كل ورقة
إي قسمي 9 إنش على 3
راح يكون مربعات الورقة الأولى مقياسها 3 في 3
والورقة الثانية قسمي 8,5 على 3
والثالثة قسمي 8 على 3
وبعدها إرسمي مربعاتك على حسب النتائج
وممكن تكتفي بورقة وحدة إذا كانت المطوية بسيطة جدا لاتحتاج إلى كلام كثير
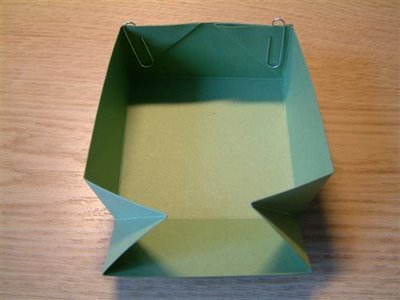
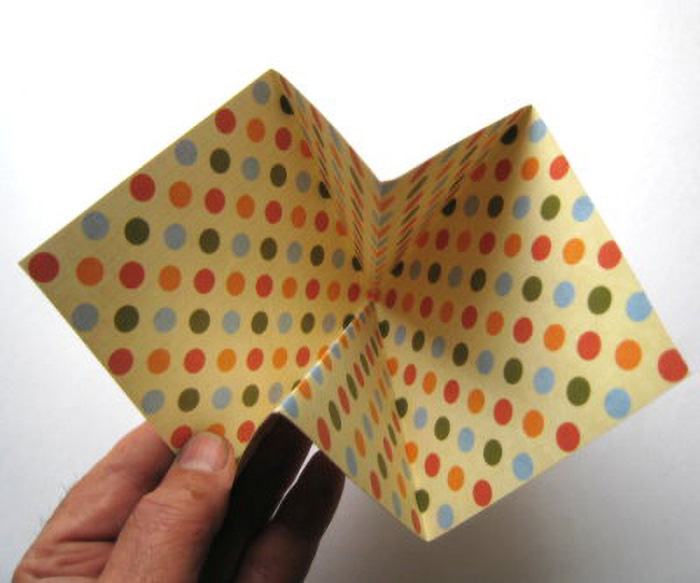
قصي المربعات الموجودة على الأطراف كما في الصورة
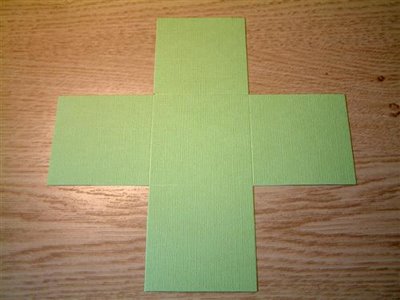
وأثني حدود المربع الموجود في المنتصف الممثل للقاعدة
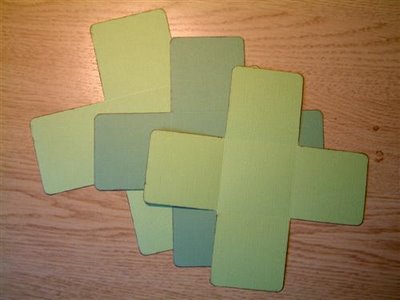
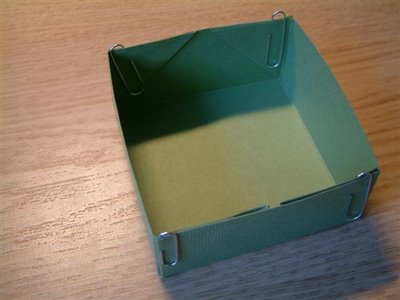
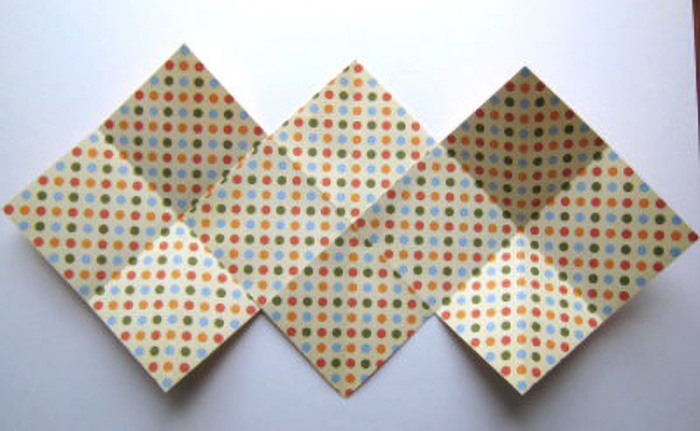
بعدها قومي بإلصاق الورقات الثلاث على بعضها من المنتصف
الكبيرة أولا فالوسط فالصغيرة
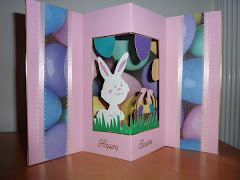
ستكون بهذا الشكل

نأتي الآن لغطاء المطوية
المطلوب
ورقة بمقاس 6,25 إنش في 6,25 إنش
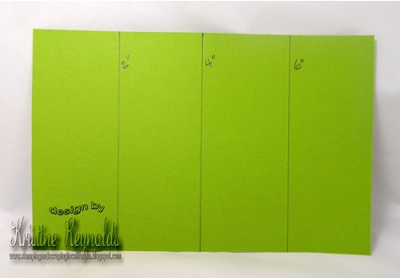
ونأخذ قياس
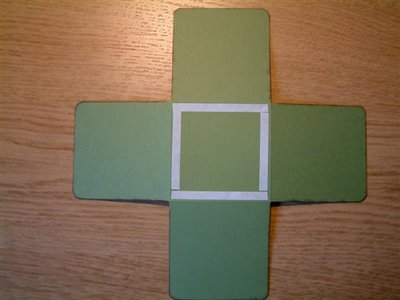
1,5 إنش من كل طرف ونرسم الخطوط كما في الصورة
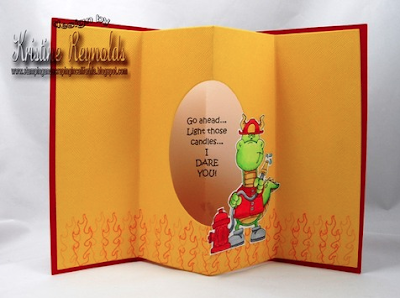
نقوم برسم خط في منتصف المربع الصغير المتكون من رسم الخطوط السابقة كما في الصورة ونقوم بثنية
وثني بقية الخطوط

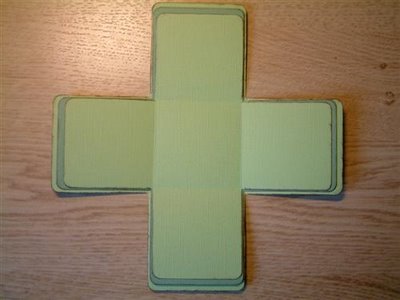
فيصبح لدينا بهذا الشكل

يتم وضع لاصق بالشكل الذي في الصورة ويمكن إستخدام الدباسة هنا بدل الصمغ
فيتكون الآن لدينا غطاء المطوية
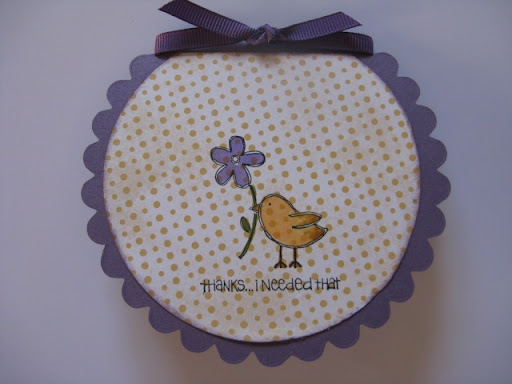
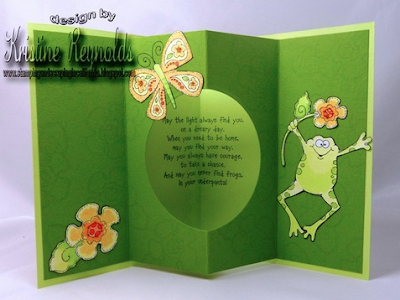
يمكن إضافة اللمسات الفنية بهذا الشكل
وتستكمل المطوية بوضع العنوان المناسب لها
وأيضاً إضافة محتوى المطوية
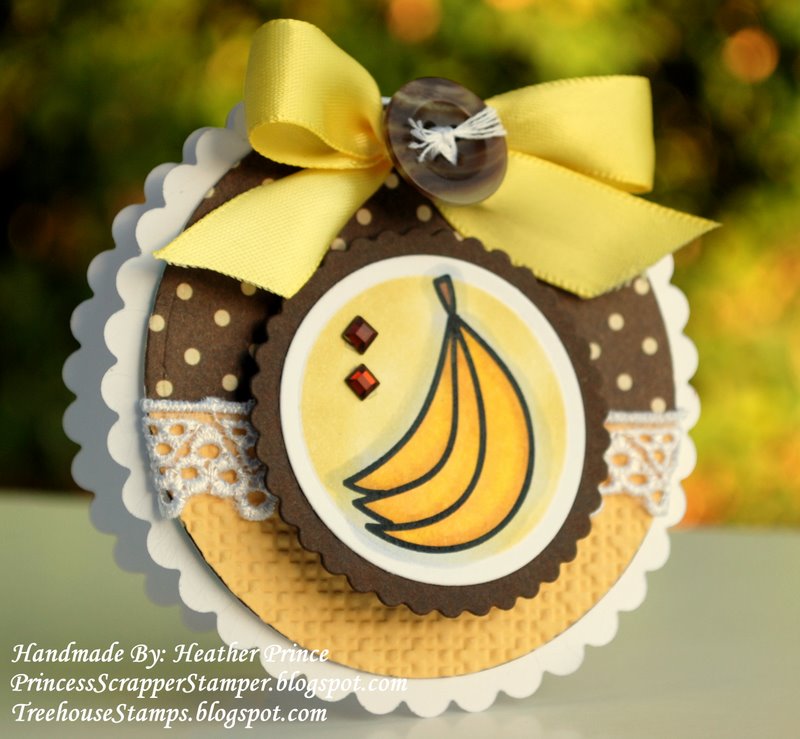
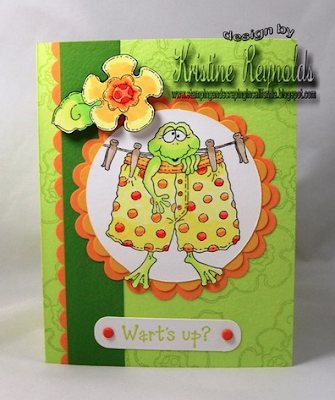
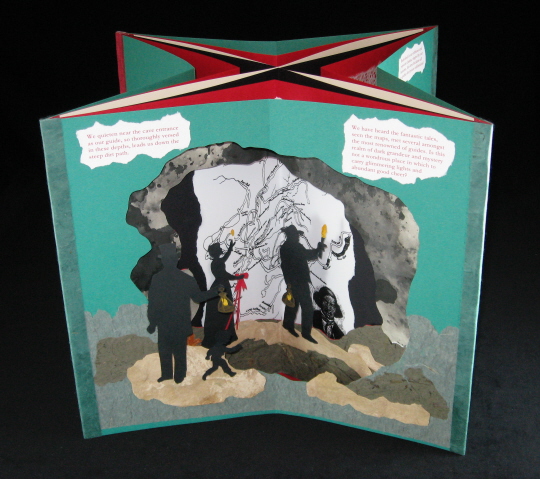
وهذا نموذج آخر

المطلوب

للغطاء
مربعين من الورق المقوى مقاس 11سم في 11 سم
مربعين من ورق التغليف ( مزخرف ) مقاس 14 سم في 14 سم
شريط ساتان
شريط لاصق من الجهتين أو صمغ
لداخل الألبوم أو المطوية
المطلوب
3 مربعات مقاس 20,5 في 20,5 سم من الورق الملون الصالح للإستخدام من الجهتين
طريقة العمل

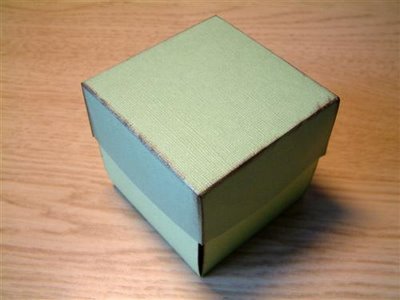
يتم تغليف الورق المقوى ( الغطاء ) بورق التغليف
وتثبيت شريط الساتان من الداخل على القاعدة

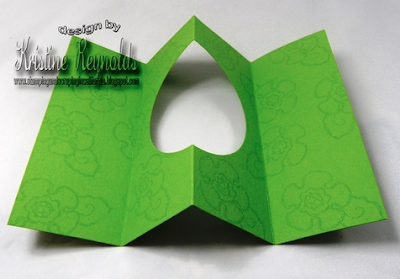
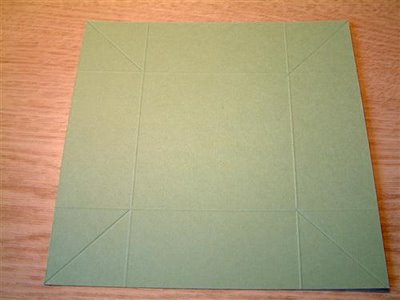
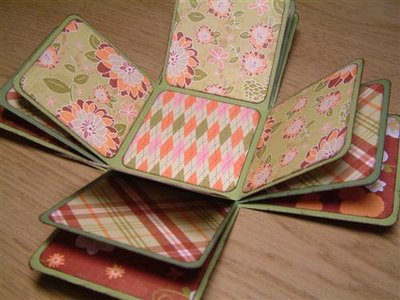
نأخذ الأوراق المربعة الثلاث ذات القياس 20,5 في 20,5 سم
ونقسمها بالقلم والمسطرة من المنتصف إلى 4 مربعات
ونرسم أحد الأقطار فيها كما هو واضح في الشكل السابق

نقوم بطي الخطوط التي تم رسمها كما في الشكل السابق

نقوم بثني الطر للداخل كما في الشكل السابق

نقوم بنفس العمل في جميع المربعات الثلاث

الآن نقوم بفرد المربعات الثلاث وتثبيتها مع بعضها كما هو واضح في الشكل السابق

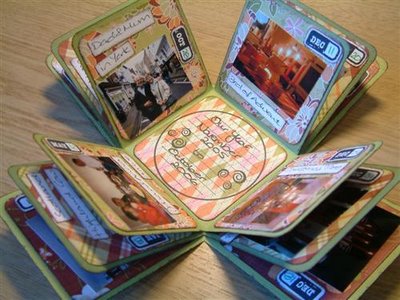
نقوم بتثبيت المربعات الثلاث على ورقتي الغلاف بالشريط اللاصق من الجهتين
بحيث يكون مربع الغطاء الذي يحوي شريط الساتان في الأسفل

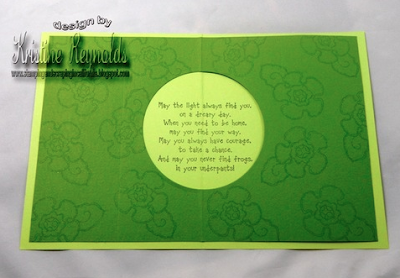
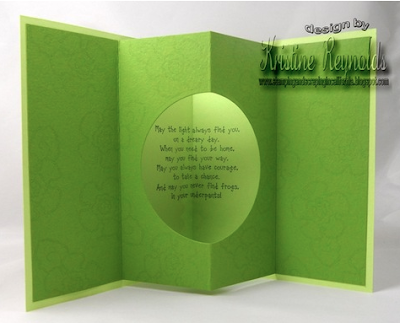
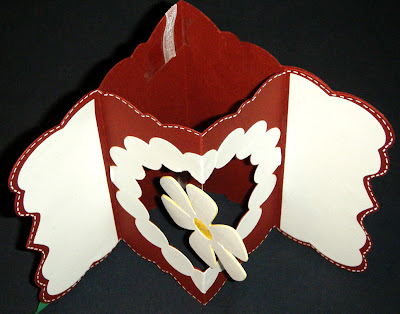
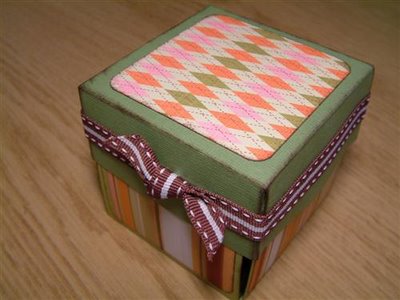
وهذي هي النتيجة النهائية
ويمكن تدوين مانريد كتابته على المطوية في الداخل
أرجو أن تكون الفكرة والشرح واضحين
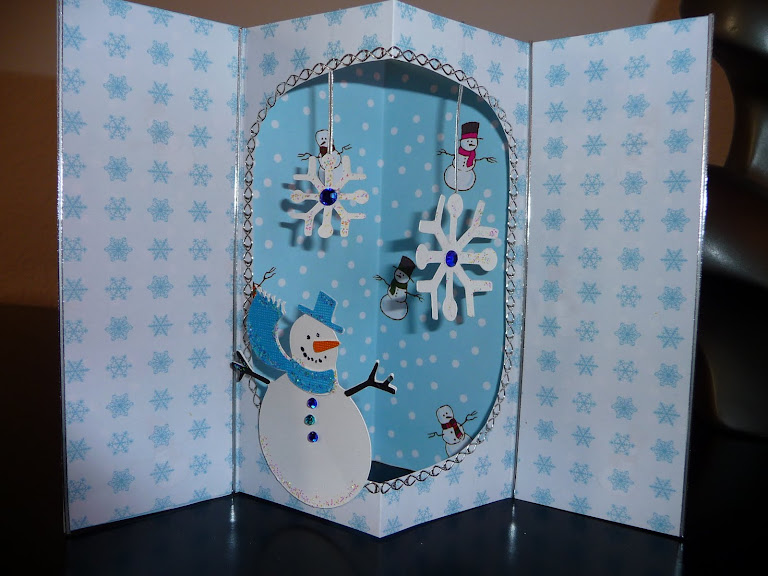
وهنا شرح بالصور لزيادة الفائدة


خطوة الثني هنا واضحة
وهنا خطوة التثبيت
أشكال متعددة
يتبع